Showing posts with label Sailing into Second. Show all posts

Monday, March 23, 2015

Area and Perimeter With Cheez-Its!

Hello friends! It's Aris from Sailing into Second

Last month, we worked on identifying area and perimeter in math. So, I thought a fun activity to wrap up our unit could be this Cheez-It activity I saw on Pinterest. I modified it a tiny bit for my kids but they definitely enjoyed it nonetheless. I mean, workbook activity vs. Cheez-Its?! My activity was the winner. :)
Area and Perimeter with Cheez-Its
Here's how to go about using these yummy crackers as part of your engaging math lesson! Give your students a handful of Cheez-Its...I gave each student a plastic bag with 25 Cheez-Its inside. Then have your kids create figures with the Cheez-Its. As they make a figure, they can draw it on some grid paper or on a napkin on their desks.
Area and Perimeter with Cheez-Its
Then have them identify the perimeter and area of each shape. How easy is that?!
Area and Perimeter with Cheez-Its
I let my kids eat the little snack after work is complete. I bought a Costco pack for my class of 25 and had half a bag left over! You could easily buy 2 boxes at the grocery and it would work just fine!
https://www.teacherspayteachers.com/Product/Area-and-Perimeter-with-Cheez-Its-1703325
What are some fun ways you teach area and perimeter? I'd love to hear more!

Friday, January 23, 2015

Staying Organized With Parent Volunteers

I'm back this month an easy organization tip for your parent volunteers. I am SO lucky to have fabulous parents in my classroom to help out with any copying, cutting, laminating that my heart desires. They make my job much easier! But want to know what makes it even easier? These bad boys right here!
Sailing into Second
I got this idea from my sweet friend Hadar at Miss Kindergarten last year. They are such an easy little organizational tool to use with my parent volunteers! I just pin these onto my master copy and done! All the directions needed are right on the pin. No post-its or pieces of paper with directions are necessary. And the best part is that they are reusable and last ALL YEAR LONG! Genius, I tell you!

If you'd like to download a set of these awesome labels and read all about them, click {here} to visit Hadar's blog post.

How do you stay organized with parent helpers? I'd love to hear about it!

Tuesday, December 23, 2014

Keeping It All Together-Absent Folders

Keeping up with absent work can be a pain for students AND teachers...can I get an amen?? I spent my first years teaching trying to figure out a system that really worked and kept my students organized and accountable for all the missed work. So obviously, Pinterest came to my rescue. It was filled with fabulous ideas and pictures of teachers using absent folders! Thank goodness for Pinterest!
absent folders
Today’s freebie is set of covers for your absent folders. All you have to do after assembling these bad boys, is simply place the absent folder on the student’s desk. Just slip their worksheets and missed work inside the folder all day long! I like to make it even MORE simple by having a student helper be in charge of passing out the folders at the beginning of the day. EASY-PEASY! When the student returns from his/her absence, they meet with me for a few mins and go over what they need to complete and how much time they have to turn it in. I usually let them have one day extra for each day they missed in class.

Are you ready to get organized?! Just click on any of the image below to grab your set!
Absent Folders

Sunday, November 23, 2014

QR Code Tutorial!

Happy Saturday friends! This past spring, I got to attend the CUE Conference in lovely Palm Springs, CA. If you're wondering what it is, CUE is the largest and oldest education technology conference in CA. Over the past 30 years, CUE has helped educators, technology coordinators, administrators learn how technology can support student achievement growth in the classroom. It's really been an awesome experience getting to see first hand what educators are using in the classroom and most importantly...what works!

Since my district is implementing 1:1 Chromebooks, most of the sessions I attended were Chrome or Google App related. But one of the sessions I attended was all about using QR codes in the classroom. Hmm...I thought to myself. I've seen 'em. I've even bought products that had these fuzzy square shaped things in them! I mean, I essentially knew you just pointed your cellphone or iPad camera at the image and BAM! You'd get a message, website, or image sent to your phone. Well my sweet education friends, there is SOO much more you can do with QR codes...especially in the classroom! So, today I'll be showing you step-by-step on how to create your own QR codes. 
Before I go onto the tutorial I have planned, here are a few quick facts about these magical square boxes...let the tech nerd in me share what I learned at my conference! ;)
  • QR is an acronym for "quick response barcodes"
  • QR codes started in Japan as part of car part identification  
  • Static QR code=always goes to just 1 place 
  • Dynamic QR code=code stays the same BUT it takes them somewhere else each time
  • Use them to embed images, links, numbers, or videos
  • Holds more info than a traditional code=unlimited possibilities!
There are TONS of QR code generators out there. A few suggested ones are Kaywa and GOQRme. Both are free and easy to use. I'm using Kaywa for this tutorial. I wanted to start with something simple...not complex for my qr code. I thought creating planet review cards for my kids would be the perfect addition to our Solar System Unit. So, I started out by creating an account with Kaywa. Once I signed up, I chose to create a static QR code that would always go to the same website or text when the kids scanned it. This is what you would see on your screen at this first step.
Next, I would choose where I'd like the code to go when it is generated. I picked a url for the planet Jupiter. Once you click generate, you'll see the QR code pop up! YAY! You've just created your first QR code! 
I then saved my QR code to my super organized desktop so I could paste it into my planet flash card.
And here is the finished product! Now when a student scans this Jupiter planet card, it will take them to a reading informational text passage about this specific planet!
But wait! You're not through yet! You have to test your QR code to make sure the link works the right way and your kids will be able to access the correct link. Be sure to try more than just one QR code reader. A great free tool is QR Code Reader, which automatically takes you to whatever it “reads.” This is what mine looked like on my iPhone...you can use it on an Android as well.  
Just click and wait for the ping or vibration to let you know it's read the code correctly. The camera on your phone or device scans the QR code. I scanned my computer picture, but you can also print and scan from any type of paper source. Mine worked perfectly and directed me to the reading passage online! Super easy to use!
The next and LAST (thank goodness) step is to track the number of scans by analyzing your data...similar to what google analytics does for blogspot blogs. You can see how many times your QR code was scanned or looked at, where and if they are being scanned. ALL sorts of great data! If you link the QR code to you blog or site this would be a great tool to see what traffic is being brought to your site. 

That's it my sweet friends! You are now ready and able to create a QR code on your own! You don't only have to use them for reading passages. QR code serve SO many purposes in the classroom! Here are a few ideas I've seen/heard from other teachers:
  • Create QR codes that need to be looked at in a dictionary or book 
  • Put them around the school library with links to book reviews and blog posts
  • Kids can scan and launch QR codes with mobile devices like iPads or tablets
  • Make a QR code to link to a specific video or tutorial 
  • Have a scavenger hunt around the classroom 
  • Take a virtual field trip to anywhere the code takes you 
The possibilities are endless! I hope you've learned a thing or two about using and creating QR codes for your classroom! What do you see yourself using QR codes for? I'd love to hear all about it!

Thursday, October 23, 2014

Aris {Sailing into Second}

Hello super friends! It's Aris from Sailing into Second
I am so excited to be a part of this collaborative blog with all my bloggy besties! You'll love all the fab ideas that will be coming to you 24/7! Plus there will be freebies along the way! 

Here's a little about myself...I'm a CA girl born and raised. I love, love, love living in SoCal and I especially love living by the beach. Fall is pretty mild here, so I get to spend days at the beach just reading and soaking up some sun. :)
I'm married to a wonderful hubby who is so supportive of all my teaching adventures and stories. We love to travel all over the world and hope to be able to live abroad one day. Here's one of my favorite travel pictures!
I've been teaching in CA for 7 years now and love what I do. I'm in a great school within a wonderful school district...I am one blessed girl! :)

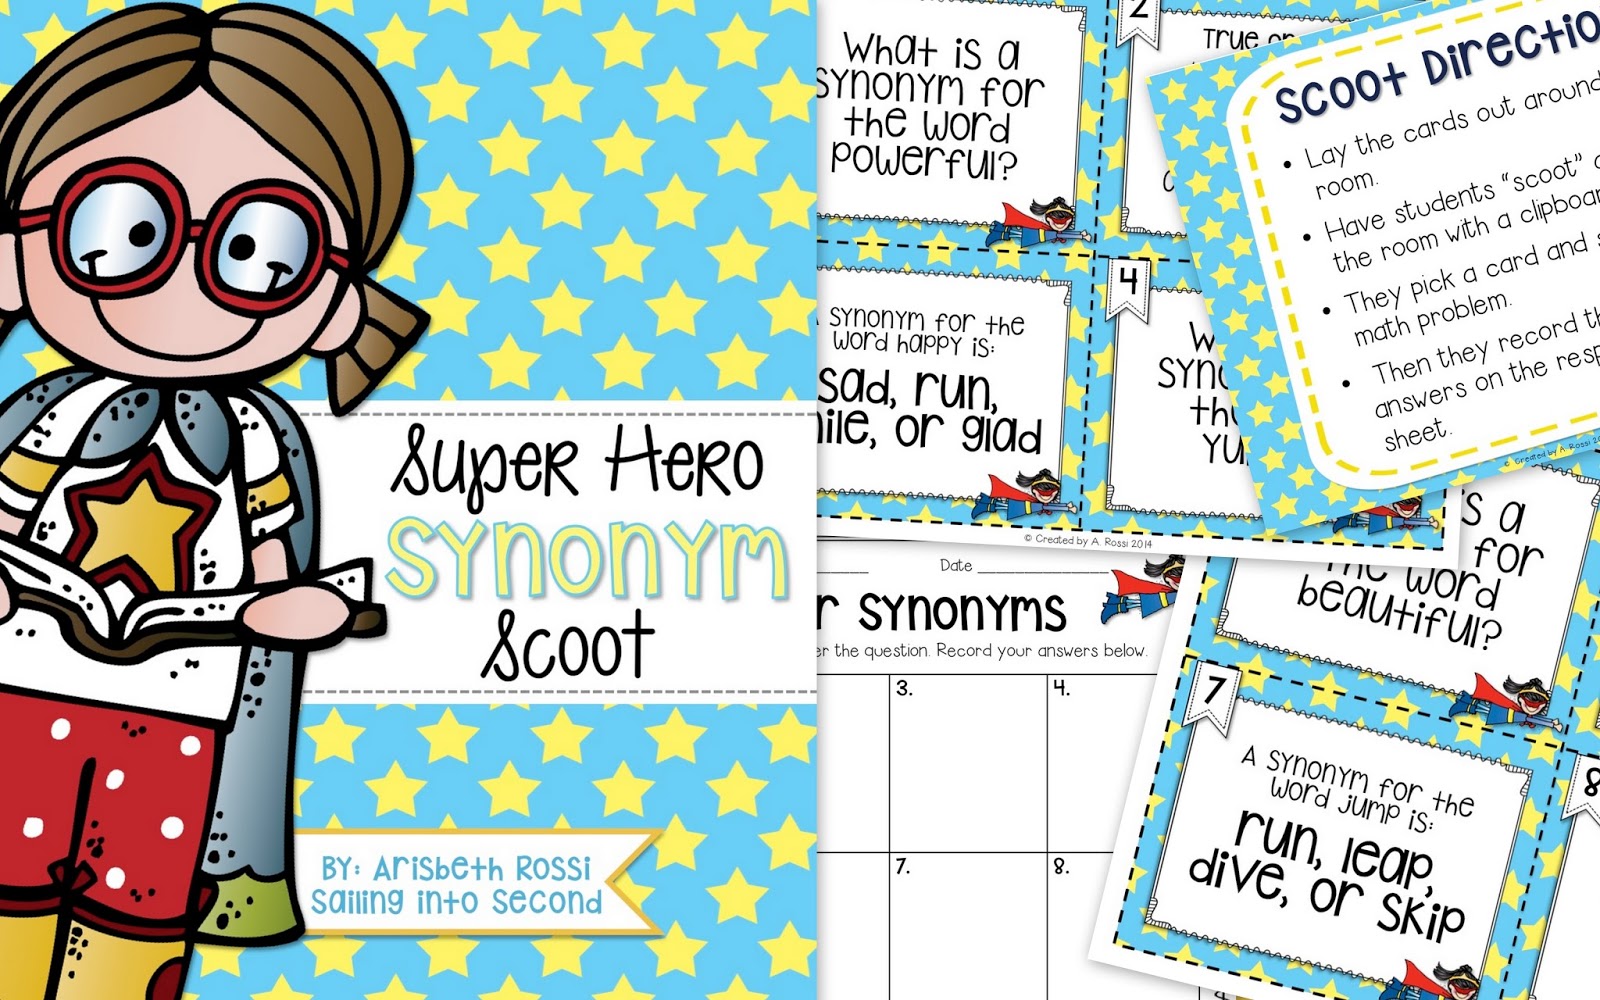
Below is a freebie just for you! Just click on any of the images to download my Super Synonym Scoot!
Sailing into Second Synonym Scoot
Thanks for stopping by today and visiting Primary Powers! Make sure to return each day to meet all our super bloggers! I'd love for you to stop by my blog Sailing into Second and follow me on Instagram!