Monday, March 30, 2015

The Easter Egg: A Mentor Text and a FREE Bunny Craftivity

Hi friends, it's Amber from School Is a Happy Place.  I'd like to share one of my favorite Easter themed mentor texts, The Easter Egg by Jan Brett.  (If you do not have this book, you have to check it out.  It is wonderful).


It is about a young bunny, Hoppi, who is trying to create his first Easter egg to give to the Easter Rabbit.  He sees all of the other bunnies working on their eggs and he can't decide what kind of egg to create.  As the story continues, Hoppi chooses to help another forest friend instead of completing his Easter egg artwork.  Hoppi's selflessness is eventually rewarded in the end.
The message in this book is so special and the artwork is tremendous.  The Easter Egg is exactly what you would expect from Brett.

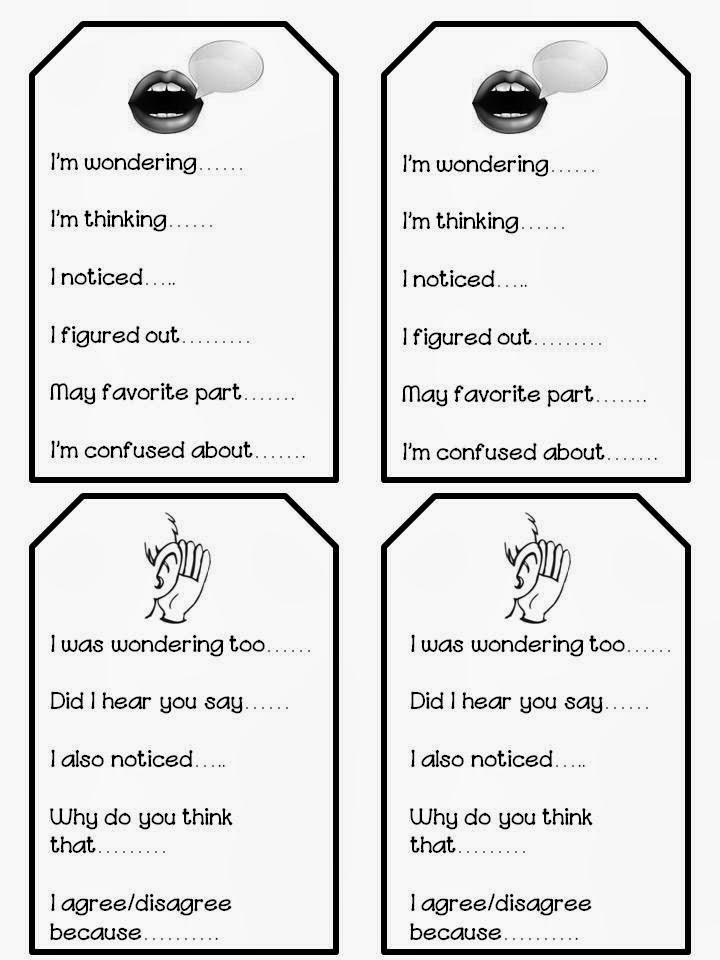
The Easter Egg can be used for many classroom activities: comprehension, retelling, context clues, inferencing.  It inspired us to create out own Hoppi artwork that will be brightening up our classroom for the next few weeks.
Like Hoppi, students decorated their most beautiful egg.  They made patterns, illustrations, team logos, and more.  After they made their eggs, they put together a simple bunny pattern. Our bunnies are brown to look like Hoppi.  (maybe should have went with gray...oh well)


The buns also look adorable in the traditional white.  You can even use up some scrapbook paper leftovers decorating the egg.


If you would like a FREE copy of this bunny pattern, click on the picture below.  It's a very simple project that is perfect for spring in your classroom.  It's always so fun to see how students' personalities shine through in projects like this one.


Thank you so much for stopping by.
Happy Easter!


Sunday, March 29, 2015

Easy Easter Egg Fun!

Hi friends,
It's Nicole from Today, in Second Grade
I'm super excited to be back and to share this fun and easy way to decorate Easter Eggs.
I'm Greek, so Easter is a huge deal in my house and we go ALLLLLL out! (like way out)

I can't wait to bake and craft up a storm this year :)


This is all you need for this fun and easy task. You can find all of these items right in your kitchen!

- Cute paper napkins
- Hard boiled eggs
- Egg whites
- Scissors
- Paint Brush

There are the 4 easy steps.

- Cut the paper napkin in the shape of a square and use only one layer.
- Wrap the napkin around the egg and cut off any excess paper.
- Dip the brush in the egg whites and paint the napkin on the egg. Be sure to fold it in places so that you can cover the entire egg.
- Let dry and enjoy the prettiness!


Try it out and let us know how it turns out!
Happy Easter!

Until next time...


Wednesday, March 25, 2015

Close Reading Tools

Hey everyone! It's Heather from Second Grade Perks today.


This year, close reading has been a huge focus in my classroom. We had a wonderful speaker visit our school and she shared so many ideas. I just now got around to digging into all the information she left for us and so today I am going to share with you some close reading tools.


Before I start I want to make clear that all of the ideas I am sharing are from Kathy Bumgardner. She has an amazing website you can visit {HERE}. I have just taken some of her great {free} ideas and added cute fonts and clipart to some. I made most in a color and black and white version. You can download any by clicking on the picture. 

The first thing I am going to share are these close reading bookmarks. After my students had practiced close reading for several weeks with me and had become experts at showing text evidence I starting getting them to use the skill with reading partners. That's where these little guys come in handy. They each have one in their book bag to remind them of the steps and what they need to do.

https://drive.google.com/file/d/0B9E87DjeJVi6cnFYcHFLTmM3azA/edit?usp=sharing

These are guided questioning stems that I laminated and keep on a ring at my guided reading table. I'll pull them out and randomly flip to one at the end or even the middle of our small group time to check their understanding.

https://drive.google.com/file/d/0B9E87DjeJVi6TW1JYzcwOG9TOFU/edit?usp=sharing
 One strand of the common core standards is speaking and listening so these cards I have laminated front to back and they also keep them in their book bags for partner reading. It reminds them if it is their turn to listen what they should be doing or responding with and if they are speaking what they can use to start the conversation. 

https://drive.google.com/file/d/0B9E87DjeJVi6MnlIYlEtMVkxYWs/edit?usp=sharing


This sheet is a step by step close reading guide for teachers to remind you what students should be looking for, noting, and thinking.
 

https://drive.google.com/file/d/0B9E87DjeJVi6cldqU0Vpd0RobE0/edit?usp=sharing
 
Here are three more tools that I did not have images of, but they are worth checking out. The first are thinkmarks for fiction and nonfiction. My students use these as a reminder of important ideas they should be thinking about as they read. When they finish a book they use their thinkmark to check for understanding.
 
This one is just a reading log we use during class and this one has three summary tools for fiction, nonfiction, and biography in the somebody/wanted/but/so fashion.
 
I hope you were able to find something useful here to help you with close reading in your classroom. 
 
If you need passages and text dependent questions for your close reading check out my informational text close reading packet. I'm putting it 20% off for the next three days!
 
http://www.teacherspayteachers.com/Product/Close-Reading-Informational-Text-Common-Core-Style-1016775


Monday, March 23, 2015

Area and Perimeter With Cheez-Its!

Hello friends! It's Aris from Sailing into Second

Last month, we worked on identifying area and perimeter in math. So, I thought a fun activity to wrap up our unit could be this Cheez-It activity I saw on Pinterest. I modified it a tiny bit for my kids but they definitely enjoyed it nonetheless. I mean, workbook activity vs. Cheez-Its?! My activity was the winner. :)
Area and Perimeter with Cheez-Its
Here's how to go about using these yummy crackers as part of your engaging math lesson! Give your students a handful of Cheez-Its...I gave each student a plastic bag with 25 Cheez-Its inside. Then have your kids create figures with the Cheez-Its. As they make a figure, they can draw it on some grid paper or on a napkin on their desks.
Area and Perimeter with Cheez-Its
Then have them identify the perimeter and area of each shape. How easy is that?!
Area and Perimeter with Cheez-Its
I let my kids eat the little snack after work is complete. I bought a Costco pack for my class of 25 and had half a bag left over! You could easily buy 2 boxes at the grocery and it would work just fine!
https://www.teacherspayteachers.com/Product/Area-and-Perimeter-with-Cheez-Its-1703325
What are some fun ways you teach area and perimeter? I'd love to hear more!

Thursday, March 19, 2015

A Cute Classroom Management Strategy


Hi Primary Powers Friends! It's Jeannine from Creative Lesson Cafe! I'm excited to share a cute strategy that has completely changed my classroom management and helped to improve student behavior!

 Teachers are definitely experts at turn-taking techniques and managing the movement of little ones through the classroom! It's pretty amazing when we stop to think about how many times during the day we transition students to a new spot in the room or switch activities, especially in the primary grades! Successful transitions require careful planning, so we have procedures galore and great routines in place. 

 I have happily handed some of the management responsibility over to my students with a little help from a *special friend*!


    Do you have some stuffed animals laying around? 
Try putting them to work for you! 

How Teddy Helps with Management

I count on Teddy for lots of things! Here is just one example of how a stuffed friend helps in our room:

 My 28 students each need a turn on the computer for a variety of activities. One of them is Accelerated Reader. Before AR testing, I like the kiddos to be settled for silent reading/testing time with their book on top of their desk. I don't create a schedule. I don't pick sticks. I just do one simple thing and then the activity runs by itself.

I call out "READY, TEDDY?" and plop him on the desk of a student who is organized and quiet. (I try to choose a different child every time). With Teddy in hand, that student looks for someone near them who is also 'ready' and hands him off. We talk about being fair, so they don't always pass him to a friend.


After passing off Teddy, the student gets to go to an available computer or choose their cozy spot for silent reading time. 


Once Teddy is on the move, I am free to go to the reading table and get ready for the students that I will be working with. The last person to get Teddy puts him back on the table where he stays when not being used. 

Once Teddy has gotten us started, test-takers, who are finished, TAP another student who is reading quietly for their turn at the computer, then they go to browse for a new book. We have one silent reading area reserved for those waiting to test and another location (on the opposite side of the room) for cozy up time for those that do not need to test. It works like a charm and there is never a need to talk and interrupt our quiet time!

Other uses for a turn-taking friend:

  • inside recess choices
  • daily five rotations
  • line-up time
  • dismissal routines
  • handing in work
  • returning materials
  • selecting task cards/center materials
  • getting stored supplies such as clipboards
  • drinking fountain turns
  • gathering for carpet time
**any time there may be many students trying to squeeze into a small area


How Teddy Helps with Behavior

Because Teddy takes his time (usually about 2 minutes) making his way from desk to desk, this eliminates the stampede of children trying to be first to get to wherever they want to go. Waiting for Teddy keeps the students from running, pushing, shoving, bickering, sliding into their spot and all of that poor behavior that often happens in the race to be first

You can see in the photo above that my class may have fought over the bean bag chairs, but Teddy helped with that! They didn't need to rush for the first turn on the computer or their favorite spot for silent reading. 

 Thanks, Teddy, for saving me some time and for helping the children to learn to be fair and patient!

I hope you will try using a turn-taking teddy bear (or some other stuffed friend). 
You may NEVER go back to any other way!
I'm pretty sure your kiddos will LOVE it!


How do you think a Teddy might help in your classroom? 
:)
If you'd like to read more about AR, including rewards and incentives, click on the button below to head on over to my blog!

Photobucket


Tuesday, March 17, 2015

7 Terrific Uses for Task Cards

Hey everyone! It's Aimee from Primarily Speaking! I'm popping in today to share with you my favorite ways to use task cards in the classroom.


Task cards are such a versatile resource to have!  Here are seven different ways that I use task cards in my classroom.


Use them as a fast finisher activity.  I always have several activities available for my students to use when they finish an assignment early.  I typically rotate these activities, and several times a year, task cards make an appearance.  I simply place the cards on a ring, and put them into a gallon size zip top bag with a stack of recording sheets.


Use them in your small groups.  When working with my small group of math students (six kiddos total), I use the task cards during our time together.  I can place a ring of cards in the center of the group and everyone can respond on their own recording page.


Use them as a cooperative learning tool.  Pair students up and let them share the task cards. They can help one another solve the problem/answer the question on the cards, or they can solve the problems independently and discuss how they arrived at their answers.


Use them as a center!  Once again, you can place the task cards on a ring and inside a zip top bag with a stack of recording sheets and students can use those materials during your centers time.


Use them as a whole group teaching tool.  I often project one card at a time via my classroom projector.  The students use their mini whiteboard, or a piece of paper that they fold into fourths, to solve the problems on the cards that I project.  It's a great way to check for understanding on the spot, when you use the whiteboards.


Use them to play Scoot!  Scoot is a well loved game in my classroom.  It has been for years!  Simply place a task card at each desk and have your students scoot from desk to desk, on your cue, to respond to each task card.  Don't forget to establish a path of rotation prior to scooting!


Use them to play a game of I Spy.  I Spy is another huge deal in my classroom.  The kids looooove it!  I Spy is also commonly called Around the Room.  I place the task cards around the room, and the students go from card to card and respond to each one.  It isn't necessary that they visit the cards in order, they just have to make sure that they visit all of the cards.  As you can see, I place the cards on the floor.  Sometimes, I just don't have it in me to tape the cards to the walls, cabinets, etc.


Well, there you have it, seven different ways that I use task cards in my classroom.  Who knew that one little stack of cards could be so very, very useful?  The task cards shown in this post can be found in my TPT store.

I hope you were able to take a new idea or two away from this post! 


Friday, March 13, 2015

Feelin' Lucky?

Top o' the Mornin' to ya! Are you feelin' lucky? 
The gals of Primary Powers have a HUGE giveaway for you to celebrate St. Patrick's Day! We're giving 10 lucky winners ALL of the products you see listed below! 


But enter soon...the giveaway ends on St. Patrick's Day! 

a Rafflecopter giveaway